
You're standing in arrivals with a half asleep toddler, a stroller that won't fold, and a driver holding your name on a board. You booked an airport transfer with car seat weeks ago. Then he asks, "Seat?" and points to a backless booster.
I've had that conversation in five countries. It never gets easier at midnight. The fix isn't hoping harder. It's specifying the seat before you pay.
Table of Contents
- Why Booking an Airport Transfer with Car Seat Is Not as Simple as It Sounds
- The Four-Stage Verification Workflow Before You Book
- What to Write into the Booking Fields
- Bring Your Own Car Seat or Request One from the Driver
- Safety Checks to Perform at the Pickup Curb
- Legal and Standards Differences Across Destinations
- Your Airport Transfer Car Seat Checklist and Final Recommendation
Why Booking an Airport Transfer with Car Seat Is Not as Simple as It Sounds
The first time this went wrong for me, my daughter was still rear facing. I'd ticked car seat included, paid, and assumed somebody had matched her age to a suitable restraint. Nobody had. The provider owned one booster, and the driver expected us to use it.
That's the core problem. Booking sites treat a child seat like bottled water or extra legroom. It's not an amenity. It's safety equipment that has to fit your child's body, the vehicle, and the law where you're landing.
What Is Actually at Stake
An airport transfer is an ordinary road journey in a car, taxi, or van, often on fast roads you're too tired to assess. In the United States, 677 children aged 14 and younger were killed in passenger vehicles in 2024 and more than 127,000 were injured, with 39% of the children killed unrestrained where restraint use was known, according to National Highway Traffic Safety Administration child safety data.
Those numbers change how I book. I don't ask if a seat exists. I ask what type it is, what limits are printed on its label, how it installs, and who fits it.
A checkbox can't hold your child in a crash. A correctly specified, correctly installed restraint can.
You'll also discover problems that have nothing to do with bad intent. A dispatcher reads "two years old" and sends a forward facing seat. Luggage fills the rear seat where the restraint belongs. A driver arrives with a seat but no compatible hardware. All of that gets decided long before you reach the curb, in the few lines you typed at booking.
Treat that booking form as a safety specification. If you wouldn't accept "some medicine" for your child, don't accept "some seat."
The Four-Stage Verification Workflow Before You Book
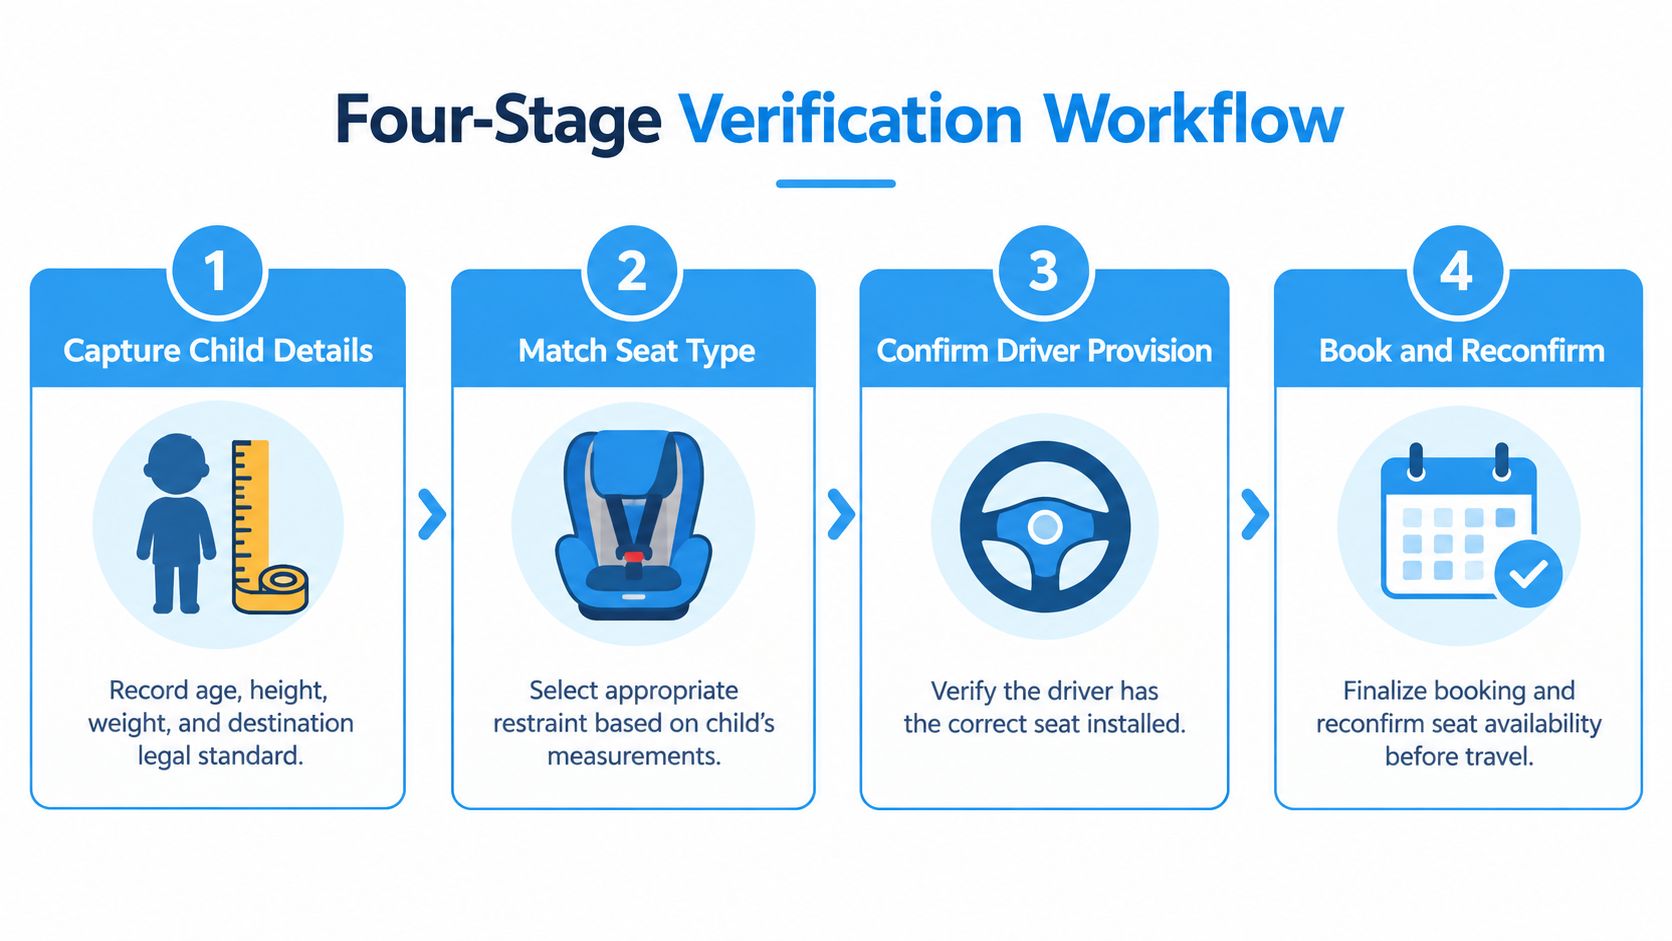
"Car seat available" tells you almost nothing. Available where, in a warehouse or in your vehicle? For which child? Installed by whom? I use a four-stage verification workflow for every quote now, whatever the destination.
Installation errors are common, not rare. NHTSA observational data found a 46% overall misuse rate, including 17% loose installations, and a 61% misuse rate for forward facing seats in the cited study, as reported in NHTSA research on child restraint misuse.
The Four Stages
- Capture the child's details. Record age, height, and weight, plus the destination country's requirements. Age alone is a poor proxy for fit.
- Match the restraint category. Decide whether you need rear facing, forward facing, or a booster. Don't let the provider guess.
- Confirm the vehicle and installation method. Ask whether the seat installs with a seat belt or compatible lower anchors, and whether a top tether is required and available for forward facing use.
- Book, reconfirm, and fit check. Get the seat type confirmed in writing, then check movement at the belt path at pickup. About 2 inches is the maximum benchmark before an installation counts as loose.
If you're still fuzzy on how these services work, start with what an airport transfer actually includes before you compare quotes.
My rule is blunt. A provider who won't confirm stage two and three in writing hasn't sold you a transfer with a car seat. They've sold you a transfer and a hope. Walk away while you still have options, not while you're standing outside departures with a crying baby.
What to Write into the Booking Fields
Most booking forms give you a notes box and a character limit. Use both like they matter, because dispatchers work from exactly what you wrote. Vague notes get forgotten. Specific notes get loaded into a vehicle.
Start with the child, not the seat. Write the child's age, height, and weight, the number of children traveling, and the restraint category you need. Then add the installation method you expect and state clearly who you believe is responsible for fitting the seat.
Restraint Category by Child Profile
| Restraint type | Typical age | Height/weight range | Best for |
|---|---|---|---|
| Rear facing | Infants and very young children | Within the seat maker's rear facing height and weight limits on the label | Babies who haven't outgrown rear facing limits |
| Forward facing with harness | Toddlers and young children, including ages 1 to 4 | Within the labelled harness limits, with top tether where required | Children who have outgrown rear facing but still need a harness |
| Booster seat | Older children | Within the labelled booster limits, using the vehicle seat belt | Children not yet big enough for an adult belt to fit correctly |
The table is a starting point, not permission to guess. The label on the actual seat governs, so ask the provider to confirm the model or at least its approved range before you pay.
Don't stop at the seat itself. Add these details too:
- Luggage volume: Large cases and strollers can push a restraint into an unsuitable seating position, so state what you're bringing.
- Accessibility needs: A child with a disability may need specialized seating, a larger vehicle, or extra time. A generic filter won't capture that.
- Flight and timing details: Installation takes time. A driver meeting a delayed flight shouldn't be fitting a seat in a rush.
Finally, read the confirmation back. If it doesn't name the seat type and installation method, reply and get it amended. That email is your only leverage later.
Bring Your Own Car Seat or Request One from the Driver
There's no universally right answer here, despite what parenting forums claim. I've done both, and I've regretted both on different trips. Decide based on fit certainty, not convenience alone.
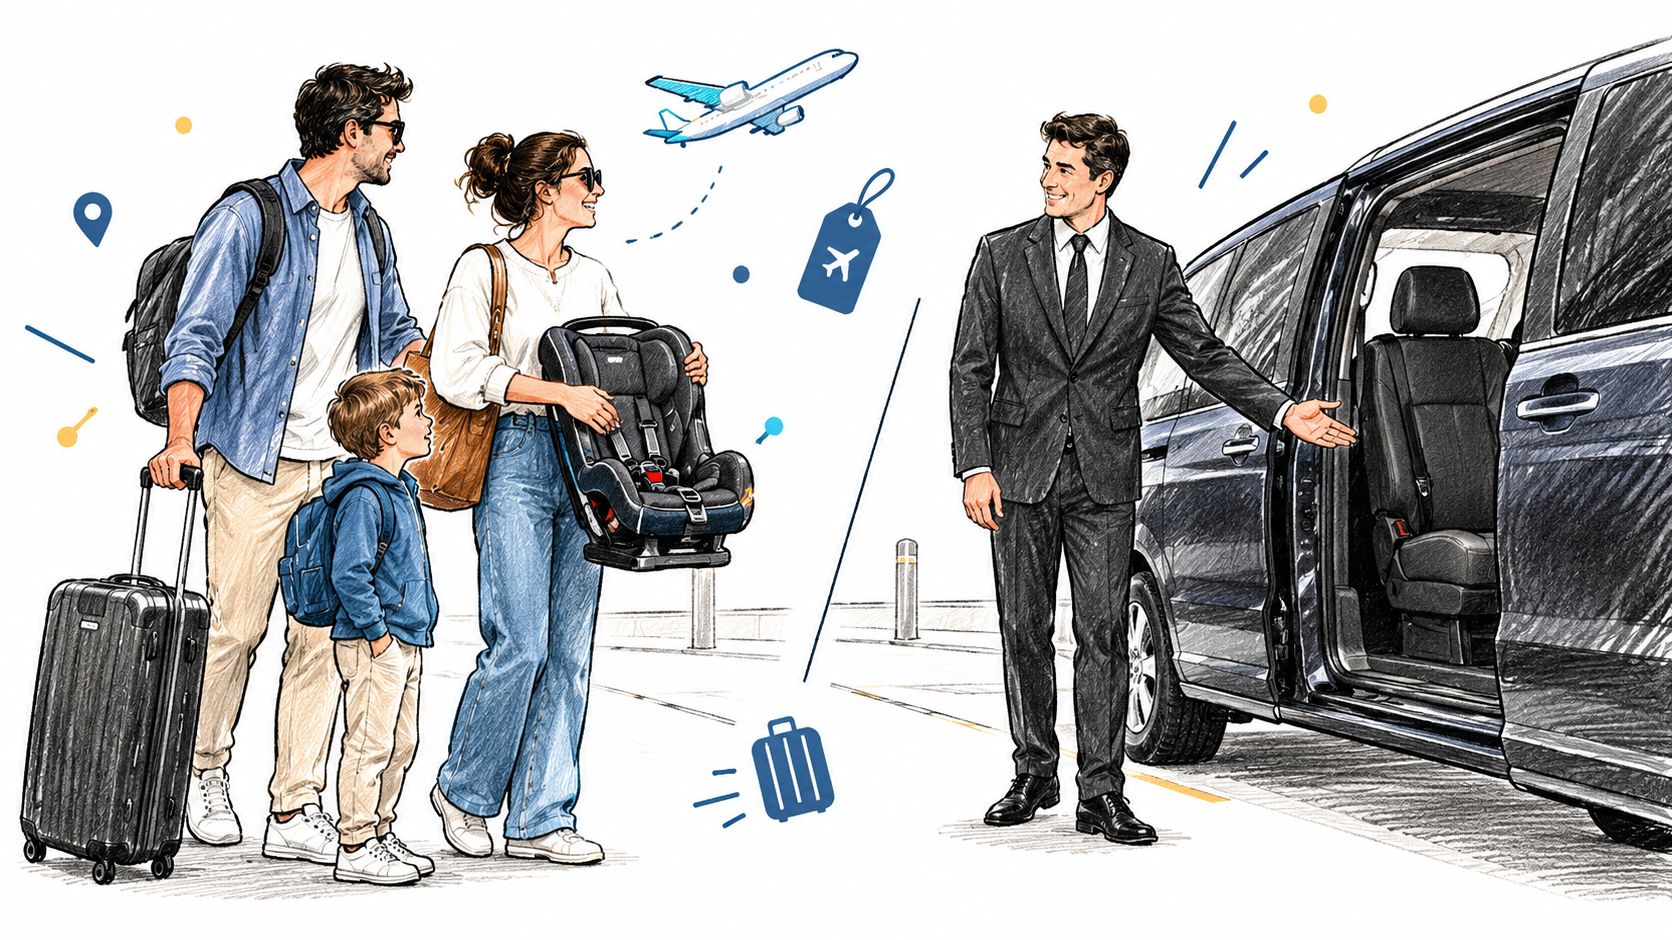
Bringing your own seat means your child travels in something familiar and already adjusted, and you know its history. The costs are real. You haul it through terminals, you take the gate check gamble on damage or loss, and you may reach a vehicle whose belts or anchors don't suit it.
Requesting one from the provider reverses the trade off. You travel lighter, but you're trusting their inventory, their model choice, and their driver's training.
How I Decide
- Bring your own for the child who needs the most precise fit, especially a rear facing infant.
- Request the second seat from the provider if you're traveling with multiple children, and confirm it in writing.
- Carry the user manual either way. It's small, and it settles arguments at the curb.
Watch this short explainer before you decide how you'll handle the seat on travel day:
Keep flight rules separate from road rules. The FAA states that baby carriers, booster seats, and backless restraints can't be used during aircraft ground movement, takeoff, or landing, while approved child restraint systems are permitted under applicable conditions, per FAA guidance for flying with children. Aircraft approval doesn't make a seat road legal at your destination.
If you're weighing a transfer against driving yourself, comparing car rental prices and vehicle categories helps, but rental desks have the same seat specification problem. Ask the same questions there.
Safety Checks to Perform at the Pickup Curb
Do these checks before the luggage goes in and before anyone gets impatient. Sixty seconds now beats an argument on a motorway. Drivers who know what they're doing won't be offended. Drivers who are offended have told you something useful.
Loose installations are the failure I see most. NHTSA observations found 27% of forward facing seats installed with a seat belt and 22% of rear facing seats installed with a seat belt moved 3 inches laterally, and even lower anchor and tether installations showed notable excess movement in 8% of forward facing cases, according to NHTSA child restraint installation research.
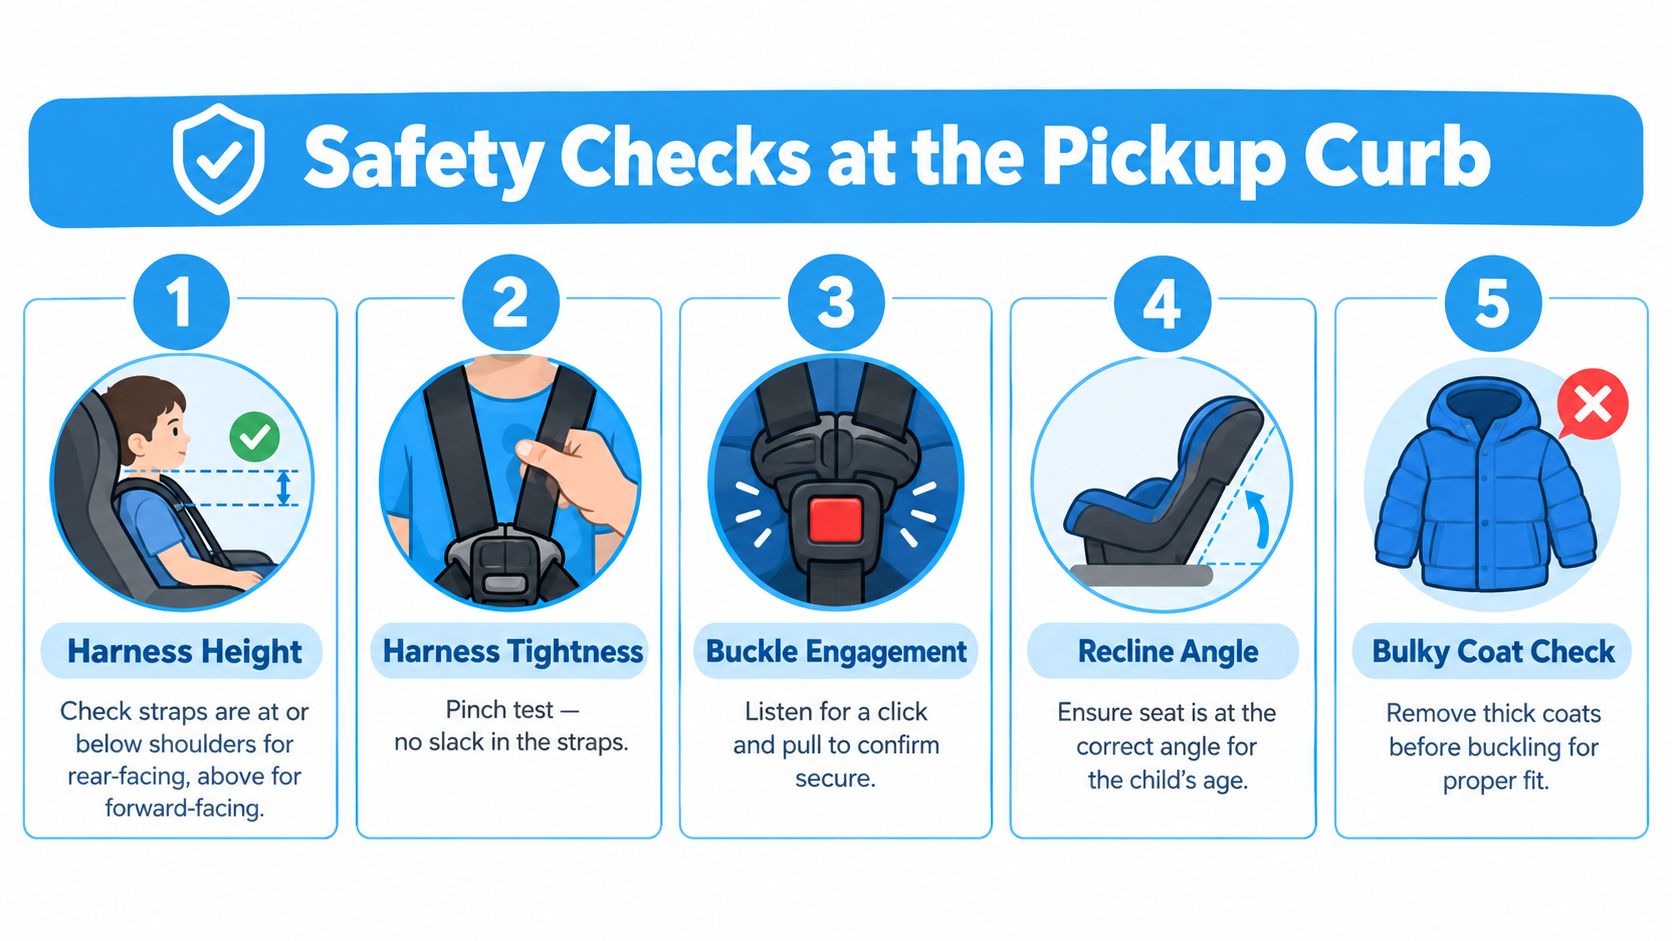
Your Sixty Second Routine
- Movement at the belt path: Push and pull where the belt or anchors hold the seat. Excess movement means refit it.
- Harness height and tightness: Straps should sit correctly for the direction of travel, with no slack you can pinch.
- Buckle engagement: Listen for the click, then tug to confirm it's latched.
- Recline angle: Check it against the seat's indicator or instructions, especially for infants.
- Bulky coats: Take thick coats off before buckling. A harness over padding isn't snug, whatever it looks like.
- Tether and belt routing: Confirm the top tether is attached for forward facing seats where required, and that the belt follows the correct path.
If a check fails, say so plainly and ask the driver to refit the seat. If the model is wrong, the hardware is missing, or nobody can install it properly, don't depart and hope. Call the provider, request a replacement vehicle, and keep your child out of the car meanwhile.
For calmer travel days generally, these practical tips for easier air travel pair well with arriving early enough to do this routine without rushing.
Legal and Standards Differences Across Destinations
Your home country's rules don't travel with you. That's the hidden complication in every international booking, and it's why I never assume a local provider's default matches what I'd accept at home.
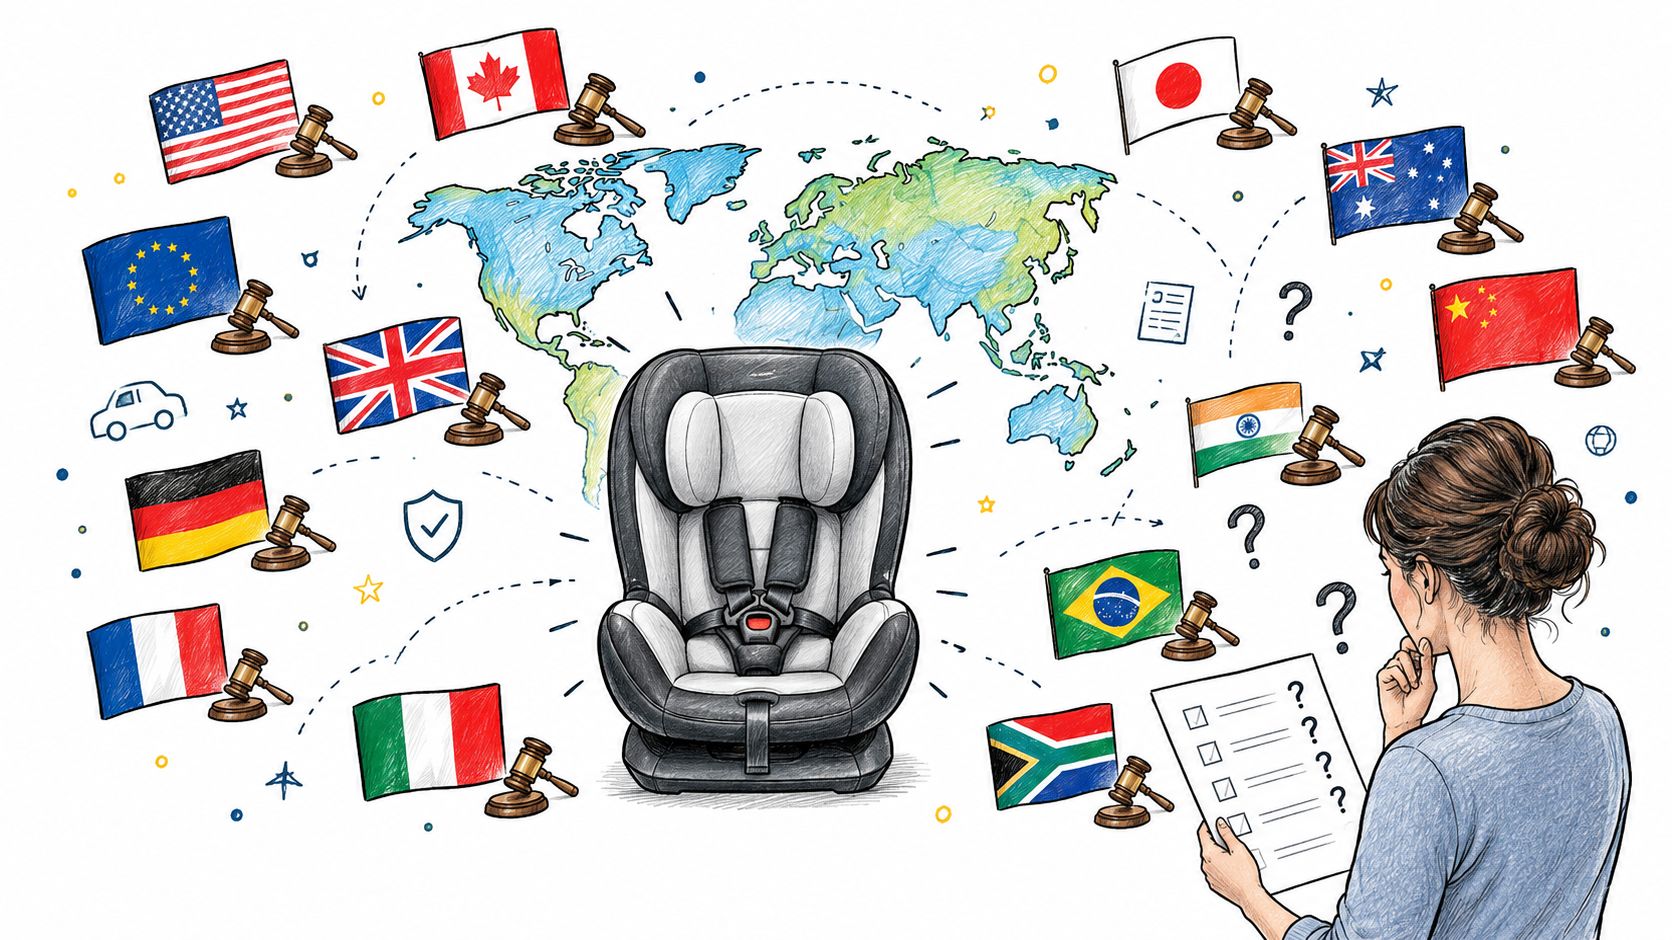
The World Health Organization reports that child restraints can reduce infant deaths by as much as 70% and deaths among small children by about 54% to 80% in a crash, yet only about 20% of low income countries had national child restraint legislation compared with more than 90% of high income countries, and restraint use runs around 77% in the European Region but below 10% in some South American countries, as set out in WHO guidance on child restraint systems.
What to Verify Where
In Europe, check the approval label and current requirements associated with UN Regulation 129. Elsewhere, verify local law and the provider's actual capability before payment, because taxi exemptions and private hire rules often differ within the same city.
Practical rule: Set your own standard at booking and hold every destination to it, even where local law asks for less.
A consistent personal checklist beats local custom. Specify the restraint category and approval marking in your booking, then look at the label on the seat you're given. If the label is missing, unreadable, or wrong for your child's size, that's a failed delivery, not a minor detail.
And remember the distinction from earlier. An aircraft approved restraint answers an aviation question. Your transfer has to satisfy the destination's road safety rules, which is a different test entirely.
Your Airport Transfer Car Seat Checklist and Final Recommendation
Save this on your phone and use it twice, once at booking and once at the curb. It's the whole guide compressed into what fits in a tired parent's head.
Research summarized by Children's Hospital of Philadelphia found that in a 2024 survey of 786 caregivers who'd recently flown with children aged five or younger, 40% of children traveled in their own aircraft seat without a restraint, 29% used a restraint, and 32% traveled on an adult's lap, with safety and needing a restraint at the destination driving many choices, according to Children's Hospital of Philadelphia research on child restraint use on airplanes. Your flight decision and transfer decision are connected. Plan them together.
The Checklist
- Child measurements: Age, height, and weight recorded in the booking, not just "car seat needed."
- Restraint type: Rear facing, forward facing, or booster, matched to the seat's labelled limits.
- Legal standard: Destination requirements and the seat's approval marking confirmed.
- Installation method: Seat belt or lower anchors, plus top tether where required.
- Vehicle fit: Enough rear seat space alongside passengers and luggage.
- Responsibility: Named person fitting the seat, with time allowed before departure.
- Contingency plan: What happens if the seat is missing, wrong, or can't be installed. Replacement vehicle, refund terms, or your own backup seat.
My final recommendation hasn't changed in years. Treat the car seat as a specification, confirm it in writing before payment, and refuse to depart if the installation fails your checks. That last part feels dramatic until you're the one standing there at 2 a.m. It's just a decision you made calmly in advance, executed while tired.
Don't book a seat. Book the right restraint, fitted correctly, confirmed in writing.
When you're ready to compare airport transfers, flights, hotels, and car rentals in one search, use Easy Travel Bookings to check trusted providers side by side before you pay. Shortlist your transfer there, then run every quote through the checklist above and get the exact restraint confirmed in writing.